


Background Intro
Wigs are a popular and important part of personal style for many people. They offer the ability to switch up your look on a daily basis or to create a specific look for a special occasion. Proper wig styling is a crucial step to achieving an overall appearance that looks natural and flattering.
In the entire section, we'll cover everything you need to know about wig styling, including the different types of wigs, preparing your wig for wear, basic wig styling techniques, advanced wig styling techniques, troubleshooting common problems, and tips for maintaining your wig.
Related: How To Choose Your First Human Hair Wig?
What Is The Best Wig For Baldness & Thinning Hair?
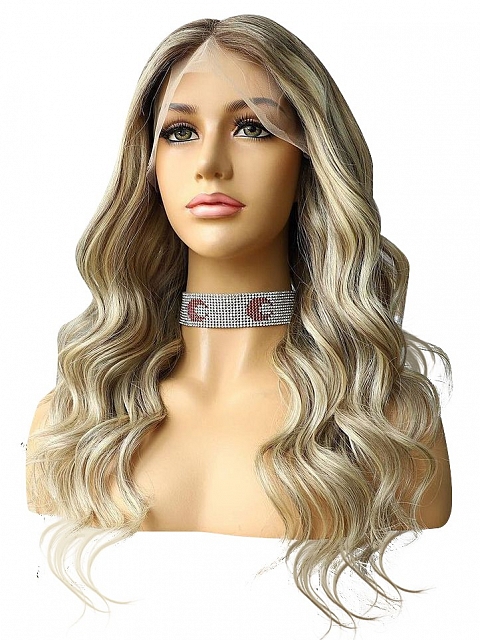
What type of wig do you have?
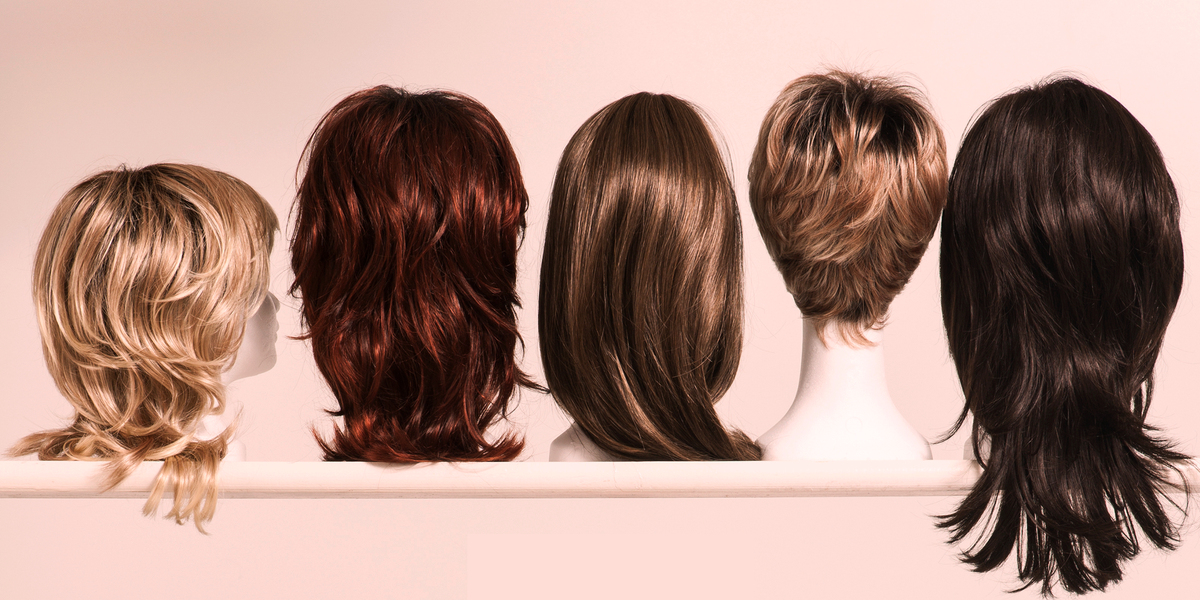
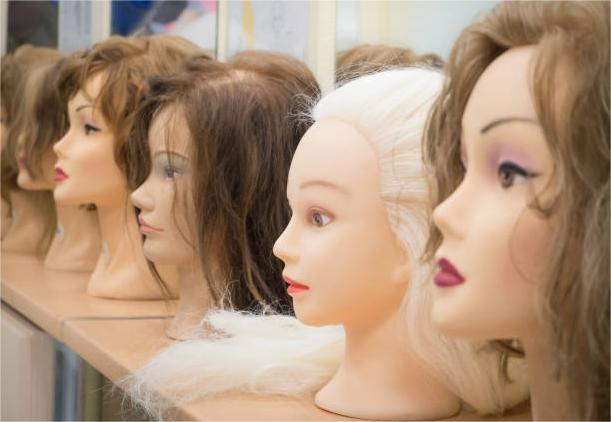
A. Understand different types of wigs available
Before we get into the nitty-gritty of wig styling, it's important to understand the different types of wigs available. The two main types of wigs are synthetic hair wigs and human hair wigs. Synthetic wigs are made of artificial fibers and are often more affordable than human hair wigs. Human hair wigs, on the other hand, are made from real human hair and tend to look more natural.
Additionally, there are different types of construction for wigs, such as lace front wigs, monofilament, and others. Lace front wigs have a sheer lace panel at the front of the wig, making it appear as though the hair is growing out of the wearer's scalp. Monofilament wigs have a thin, breathable material at the crown that mimics the look of natural hairline and scalp.
B. Identify the type of wig you have
Identifying the type of your wig is important because it will affect how you care for and style your wig. Here are some tips to identify the type of wig you have:
Check the material: Look at the tag or packaging to see if your wig is made from human hair, synthetic fibers, or a blend of the two.
Examine the cap construction: Look closely at the cap of your wig to see if it has a lace front, full lace, monofilament, or traditional wefted construction.
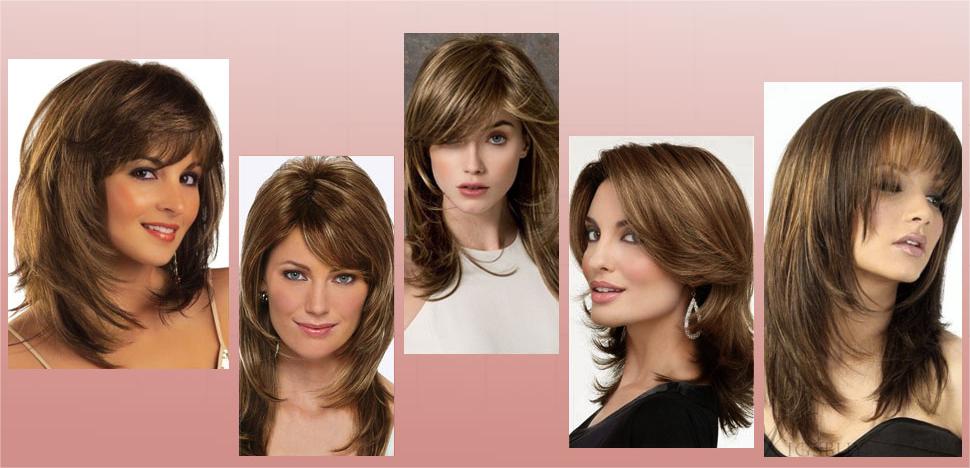
Observe the style and texture: Take note of the style and texture of your wig. Is it straight, wavy, curly, or kinky? Does it have bangs, layers, or other unique features?
Measure the length: Use a measuring tape to determine the length of your wig. Measure from the crown of your head to the longest point of the wig.
Consider any additional features: Look for any additional features, such as adjustable straps or clips, that may be unique to your wig.
By taking these factors into consideration, you can identify the unique characteristics of your wig and determine how to best care for it.
How should you prepare your wig before styling it?
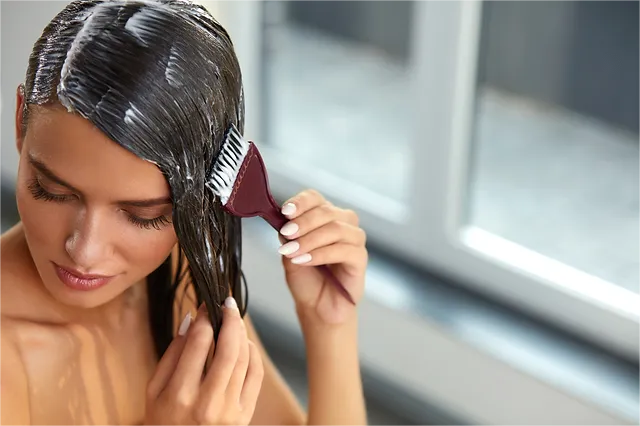
A. Washing your wig
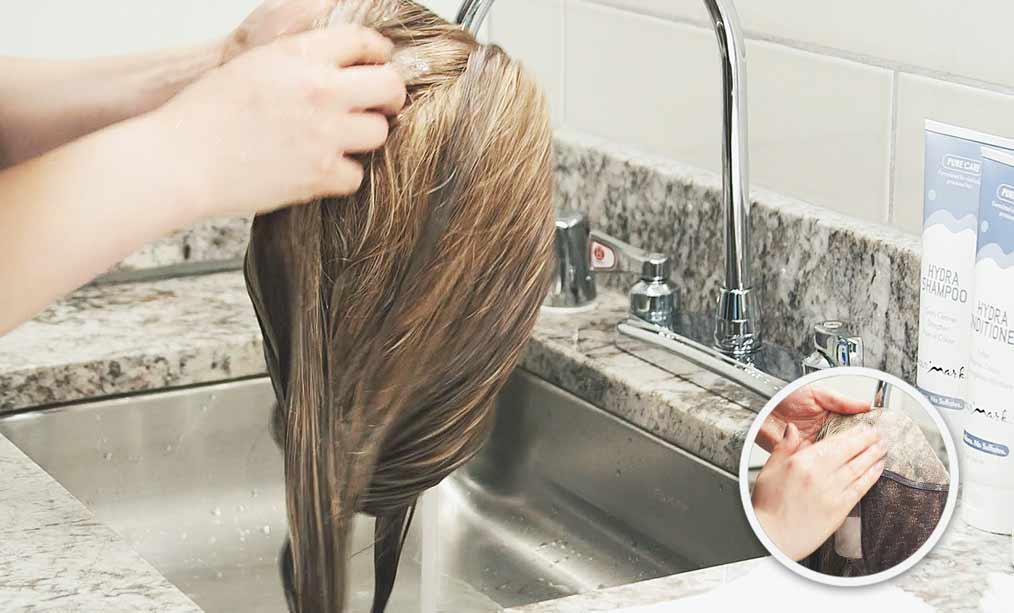
• How often to wash
Synthetic wigs: Synthetic wigs should be washed every 6-8 wears, or more often if you use a lot of styling products or expose it to a lot of sweat or dirt. Wash synthetic wigs in cold water or lukewarm water.
Human hair wigs: Human hair wigs can be washed less frequently than synthetic hair wigs, typically every 10-12 wears. However, this can vary depending on how much you wear your wig and how much styling product you use.
Heat-friendly synthetic wigs: Heat-friendly synthetic wigs should also be washed every 6-8 wears or more often if you use a lot of styling products. These wigs still require regular washing to maintain their appearance. You should avoid using hot water when washing.
Hand-tied wigs: Hand-tied wigs are often made from human hair and are designed to look very natural. These wigs should be washed every 10-12 wears or as needed.
• Products to use
Synthetic wigs: Synthetic wig shampoos and conditioners usually contain gentle cleansers that won't strip the hair of its natural oils and moisturizing ingredients that help keep the hair soft and shiny.
Human hair wigs: Use a mild, sulfate-free shampoo and conditioner that is suitable for your own skin tone and hair type. Look for products that contain nourishing ingredients like argan oil, coconut oil, or shea butter to help keep the hair soft and healthy.
Heat-friendly synthetic wigs: Heat-friendly synthetic wig shampoos and conditioners often contain ingredients like panthenol and keratin to help strengthen the hair and protect it from heat styling tools.
Hand-tied wigs: Look for products that are specifically formulated to be gentle on fine, delicate hair. Some hand-tied wig shampoos also contain protein-rich ingredients to help strengthen the hair and prevent breakage.
• Drying techniques
Air-drying: Simply place the wig on a wig stand or mannequin head and allow it to air-dry naturally in a well-ventilated area. Avoid exposing the wig to direct sunlight or heat sources such as hair dryers or heaters.
Towel-drying: After washing the wig, gently squeeze out excess water with a towel, being careful not to rub or wring the wig. Then place the wig on a wig stand or mannequin head and allow it to air-dry.
Blow-drying: Set your hair dryer to a cool or low heat setting. Hold the dryer at least 6 inches away from the wig. Be sure to continuously move the blow dryer around the wig to avoid overheating any one area.
Styling while damp: If you prefer to style your wig while it is still damp, you can use a hair dryer set to low heat to help speed up the drying process.
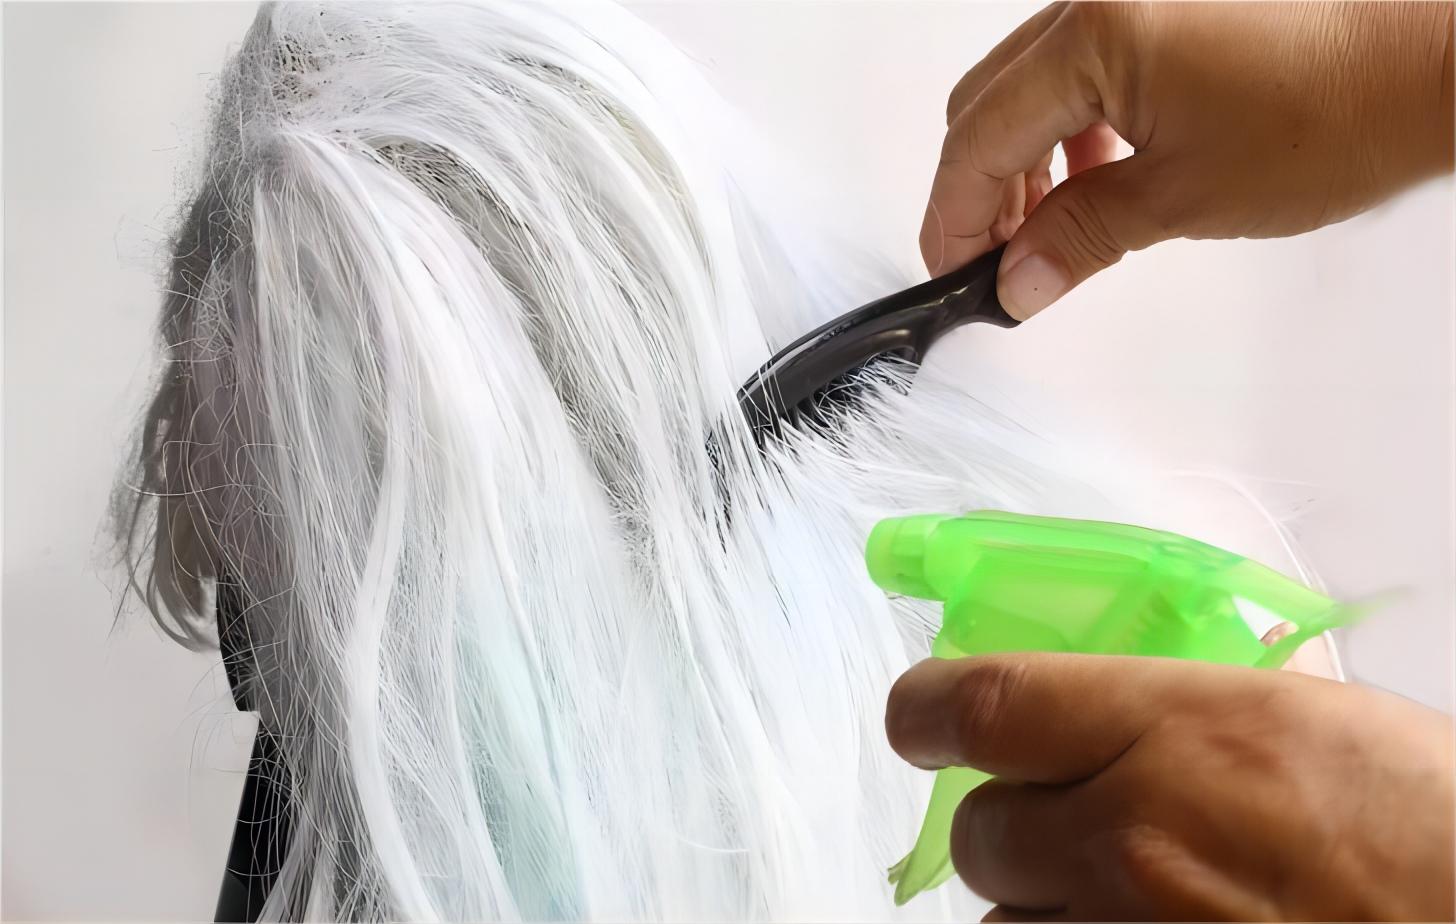
B. Brush and detangle your wig
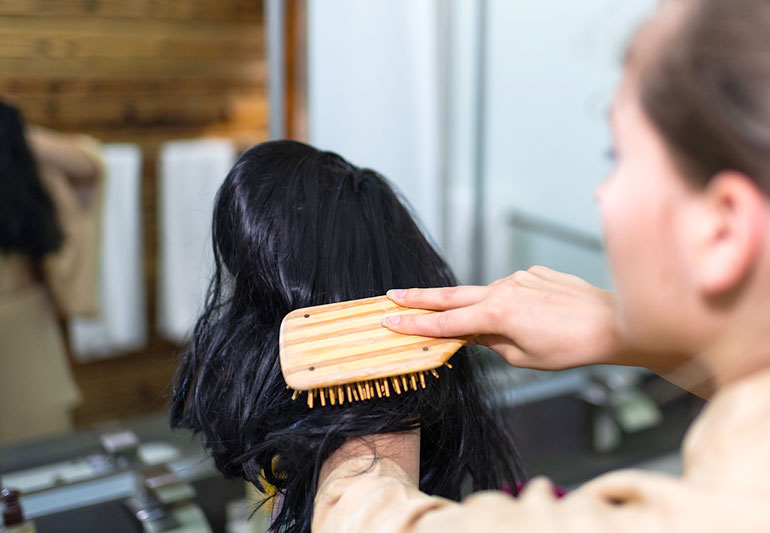
• Tools to use
Wig brush: A wig brush is designed specifically for use on wigs, with gentle bristles that won't damage or pull out the hair fibers.
Wide-toothed comb: A wide-toothed comb is another good tool for detangling wigs, especially if the wig has tight curls or waves.
Detangling spray: A detangling spray can help make the process of brushing and detangling easier by softening the hair fibers and reducing friction. Wig stand: A wig stand can be useful for holding the wig in place while you brush and style it. It can prevent the wig from slipping or moving.
• Techniques for avoiding damage
Use a gentle touch: When brushing or combing your wig, be sure to start at the ends of the hair and work your way up slowly and gently.
Use the right tools: Look for brushes and combs that are designed specifically for use on wigs, and avoid using regular hair brushes or combs.
Take your time: It's better to take your time and be patient, especially if the wig is particularly tangled or knotted.
Use a detangling spray: Look for one that is designed specifically for use on wigs, and follow the instructions carefully.
Store your wig properly: When you're not wearing your wig, store it on a wig stand or in a box or bag designed specifically for wig storage.
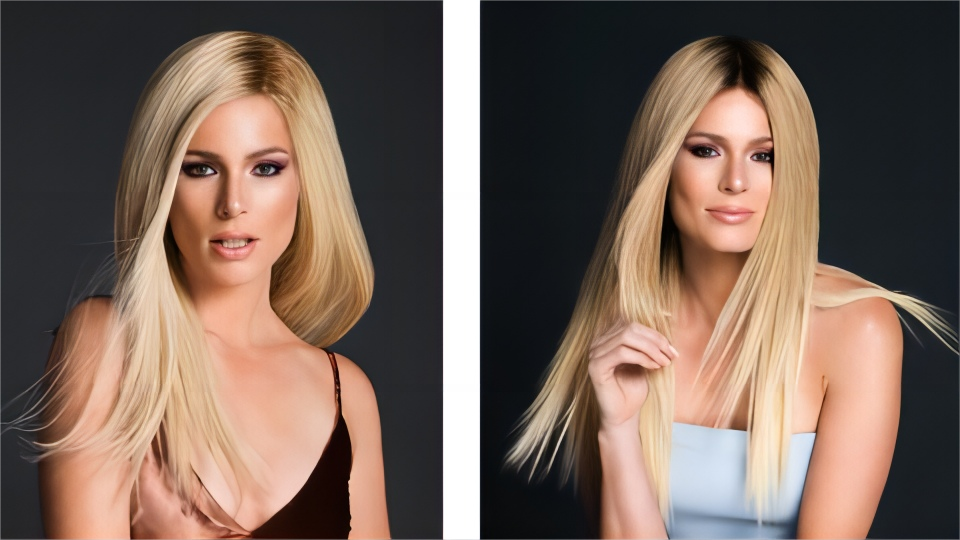
How to perform basic wig styling?
A. Simple steps for everyday wear
Step #1: Part your wig
- To part your wig, first locate the parting area on the wig. This is usually a small section on the top of the wig where the hair is designed to be parted.
- Next, use a comb or your fingers to create a neat and straight part, starting from the front of the wig and moving towards the back. If the wig has a lace front, make sure to align the part with the pre-plucked hairline.
- Once you have created the desired part, use some hairspray or styling product to keep the hair in place and prevent it from shifting throughout the day. You can also use a flat iron or curling iron to add some additional styling to the wig if desired.
Step #2: Add volume

- Tease the hair. Use a fine-tooth comb to gently backcomb sections of hair at the roots. Use styling products.
- Apply volumizing mousse or root-lifting spray to the roots of your wig and blow dry with a round brush. This will hold the style in place.
- Add clip-in extensions. If your wig is made from human hair, you can add clip-in extensions to create extra volume.
- Use a hair piece. Another option is to use a hair piece such as a bun or ponytail extension that can be attached to the back of your wig.
Step #3: Straighten or curl
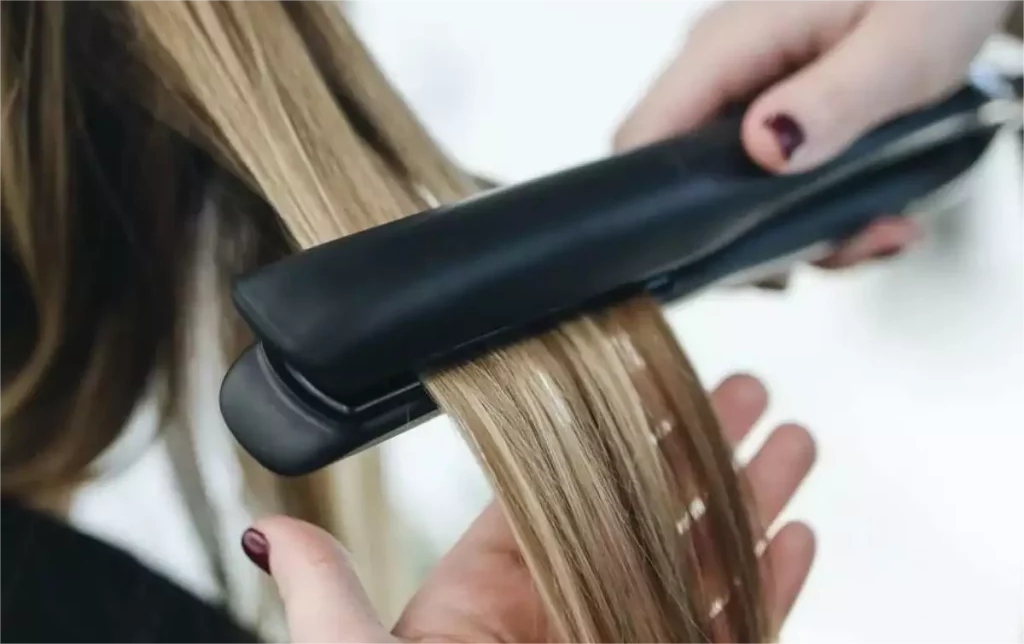
To straighten a wig, you can follow these steps:
- Clean your wig with shampoo and conditioner and dry your wig completely .
- Once the wig is dry, you can use a flat iron with a low temperature to straighten the hair.
- Take small sections of hair and run the flat iron through each section from the root to the tip.
To curl a wig, you can try one of the following methods:
- Heat up some rollers, apply them to small sections of hair, and leave them in place until they cool down completely. Then remove the rollers.
- Take small sections of hair and wrap them around the barrel, holding for a few seconds before releasing. Repeat this process.
- Use flexi rods: Section the hair into small pieces, wrap each piece around a flexi rod, and secure the ends. Leave the rods in place.
Step #4: Secure your wig
Here are five simple ways to secure your wig:
- Use wig tape or adhesive.
- Wear a wig grip or cap.
- Adjust the straps on your wig.
- Use hair or bobby pins to anchor the wig to your natural hair.
- Braid your hair before putting on the wig for added security and to prevent tangling.
Related: How to fix a wig in place?
B. Styles for special occasions
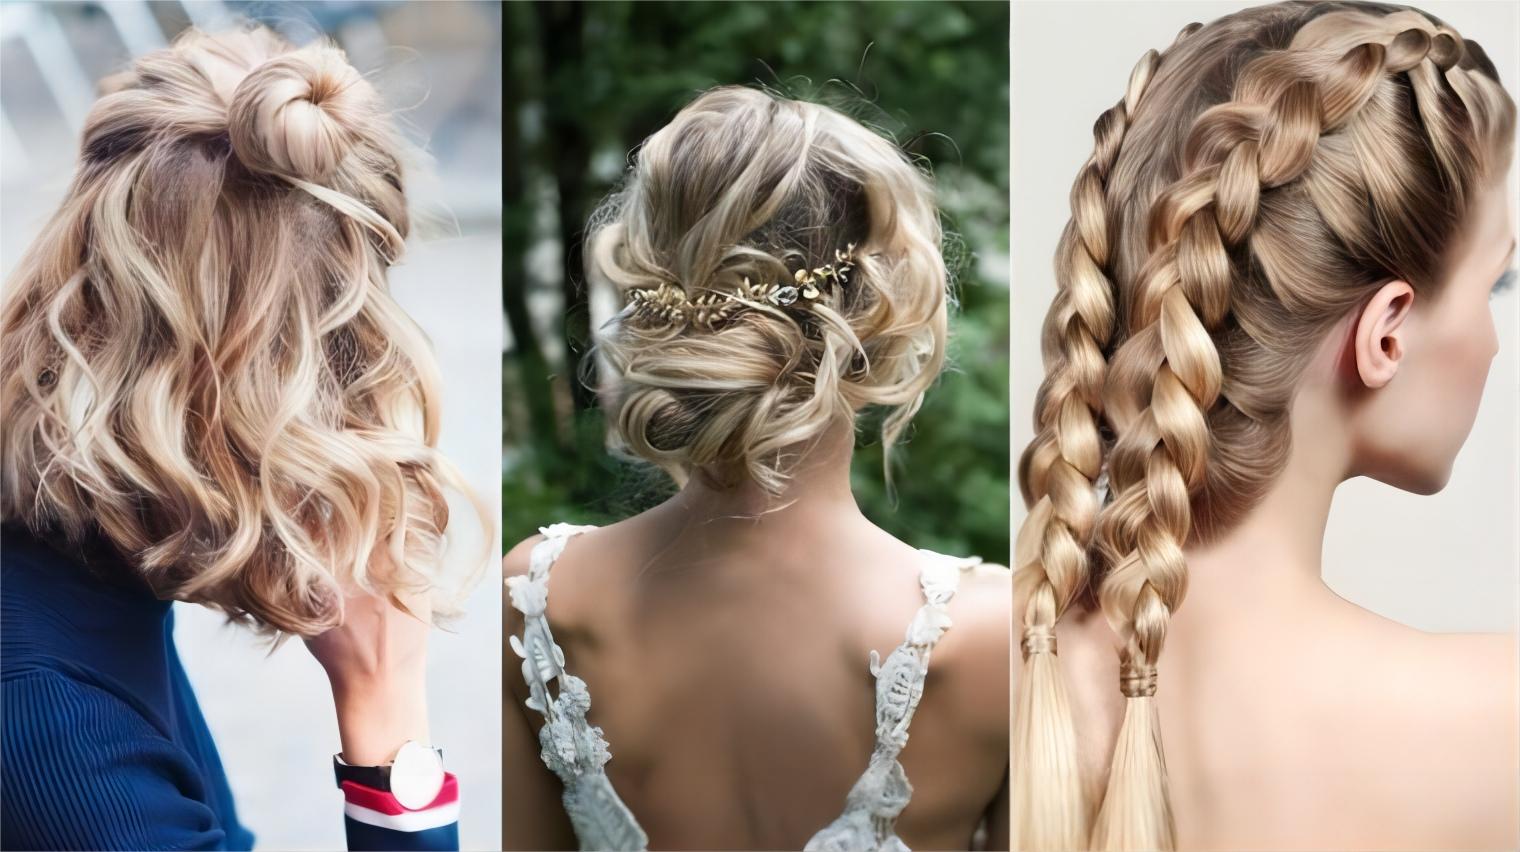
Half-up/half-down, updos, braids, and ponytails are four popular hairstyles that are versatile and flexible for different hair types, lengths, and occasions.
A half-up/half-down hairstyle involves pulling back a section of hair from each side of the head at the temple and securing them together at the crown. Updos involve pulling the hair up and away from the face and neck into a bun, knot, or twist. Braids involve weaving strands of hair together to create intricate patterns and ponytails involve gathering the hair at the back of the head with a tie. These styles can be simple or elaborate depending on personal preference and occasion, and are great options for many people.
Related: 34 Superb Holiday Hairstyles To Glitter In All Festivities
32 Heart-Thumping Valentine's Day Hairstyles For 2023
How to perform advanced wig styling?
A. Advanced techniques for natural look
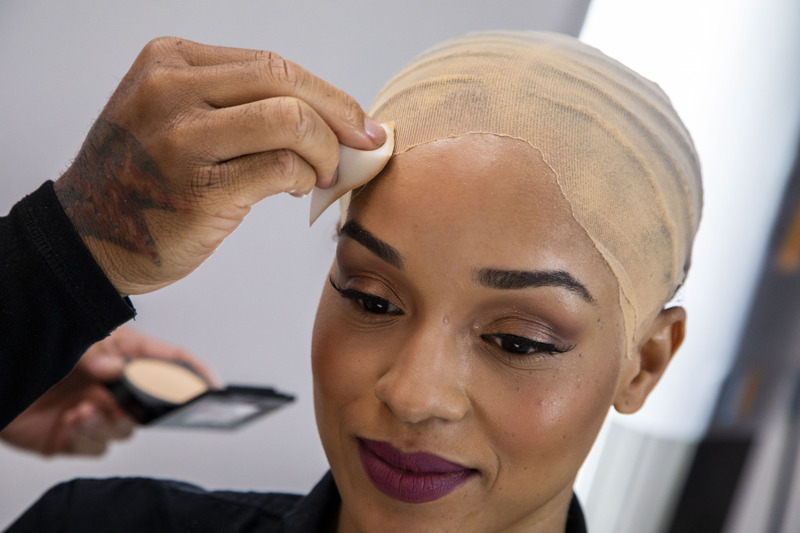
• Customize your part
Customizing a wig is a great way to make it look more natural and fit your specific style. Here are some steps you can follow to customize your wig:
Trim the lace: Use scissors to carefully cut along the edge of the lace, leaving a small amount of lace sticking out.
Pluck the hairline: To make the hairline look more natural, you can use tweezers to pluck out a few hairs at a time from the front of the wig.
Style the wig: Use heat tools like curling irons or straighteners to create the look you want. Be careful not to use too much of heat tools.
Add accessories: You can also add accessories like headbands, wig clips, or hats to your wig to change up the look.
• Ventilate the wig cap
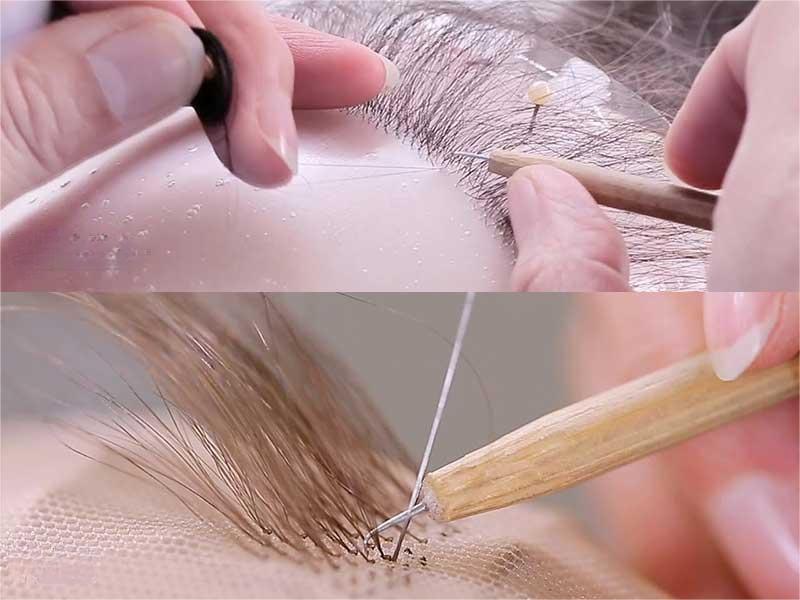
Ventilating a wig cap involves hand-knotting individual hairs onto the cap to create a natural-looking part. Here are simplified steps you can follow:
Choose your wig type of cap: You'll need a full lace wig cap or monofilament cap.
Gather your supplies: You'll need a ventilating needle and hair fibers that match the color and texture of your wig.
Determine the direction of your hair: Decide which way you want the hair to lay on your wig cap before you start ventilating.
Thread the needle: Thread the ventilating needle with a strand of hair fiber, making sure it's securely tied to the needle.
Insert the needle: Starting at the edge or hairline, insert the needle through the underside of the cap and pull it up through the top.
Knot the hair: Use the hook on the end of the needle to pull a small loop of hair through the hole in the cap. Then, wrap the hair around the needle and pull it back through the hole, creating a knot.
Repeat the process: Continue knotting individual strands of hair along the part or hairline until you achieve the desired look.
Trim any excess hair: Once you've finished ventilating, trim any excess hair fibers that may stick out from the knots.
• Thin the wig
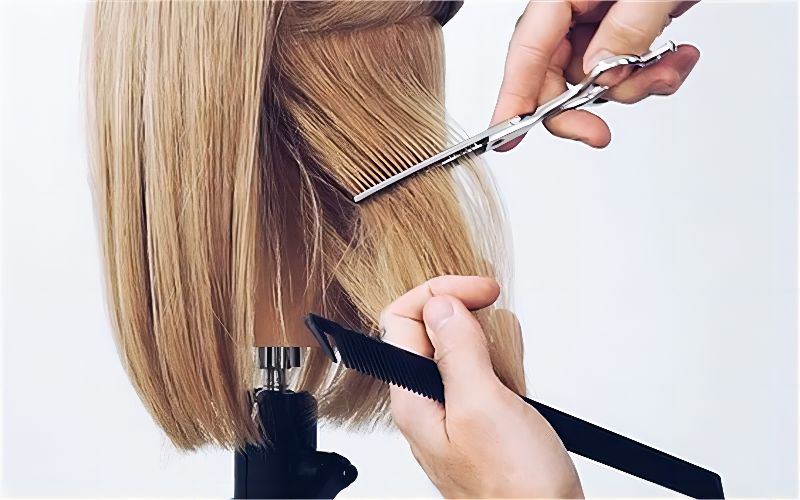
Thinning a wig can help create a more natural look by reducing the amount of hair in certain areas, such as the top or sides. Here are some steps you can follow to thin your wig:
Gather your supplies: You'll need a pair of thinning shears or scissors, a comb, and a wig stand or mannequin head.
Secure the wig: Place the wig on a wig stand or mannequin head to keep it in place while you work.
Comb out the hair: Use a wide-toothed comb to detangle the hair and remove any knots or tangles.
Start thinning: Using the thinning shears or scissors, start cutting small sections of hair at a time. Hold the hair between your fingers and gently snip the ends of the hair strands to thin them out.
Work methodically: Work from one side of the wig to the other, taking care not to cut too much hair off center all at once. It's best to work gradually to achieve the desired result.
Check your progress: After you've thinned out a section of hair, use your comb to check the density and make sure all the hair looks even.
Blend the hair: Once you've thinned out the hair, use your comb to blend the hair so that it looks natural and even.
B. Creative styling with wigs
• Color your wig
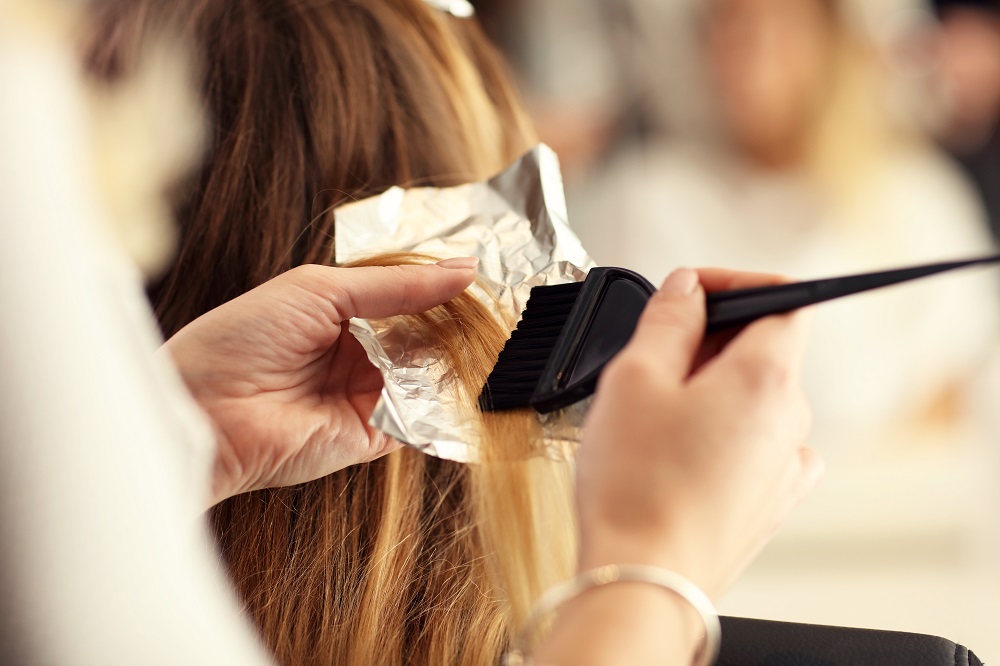
Coloring a wig can be a bit tricky, but it is definitely possible. Here are some steps you can follow:
Choose the color: Decide on the color you want to dye your wig. Make sure you choose a color that complements your skin tone and matches your desired look.
Pre-wash the wig: Before dyeing the wig, make sure you wash it thoroughly with a mild shampoo and cool water. This will remove any dirt or residue that might interfere with the dyeing process.
Prepare the dye: Mix the hair dye according to the instructions on the package. Make sure you use a dye that is specifically made for synthetic wigs if your wig is made of synthetic fibers.
Apply the dye: Wear gloves to protect your hands from staining and apply the dye to the wig using a brush or your fingers. Make sure you cover all the strands evenly and avoid getting the dye on the wig cap.
Let it sit: Leave the wig to sit with the dye on for the recommended time specified on the package. Be careful not to leave it on for too long, as this could damage the wig.
Rinse: Rinse the wig with cool water until the water runs clear. Do not use hot water, as this can also damage the wig.
Dry: Gently pat the wig dry with a towel, then hang it up to air dry. Do not use heat to dry the wig, as this could cause it to frizz or lose its shape.
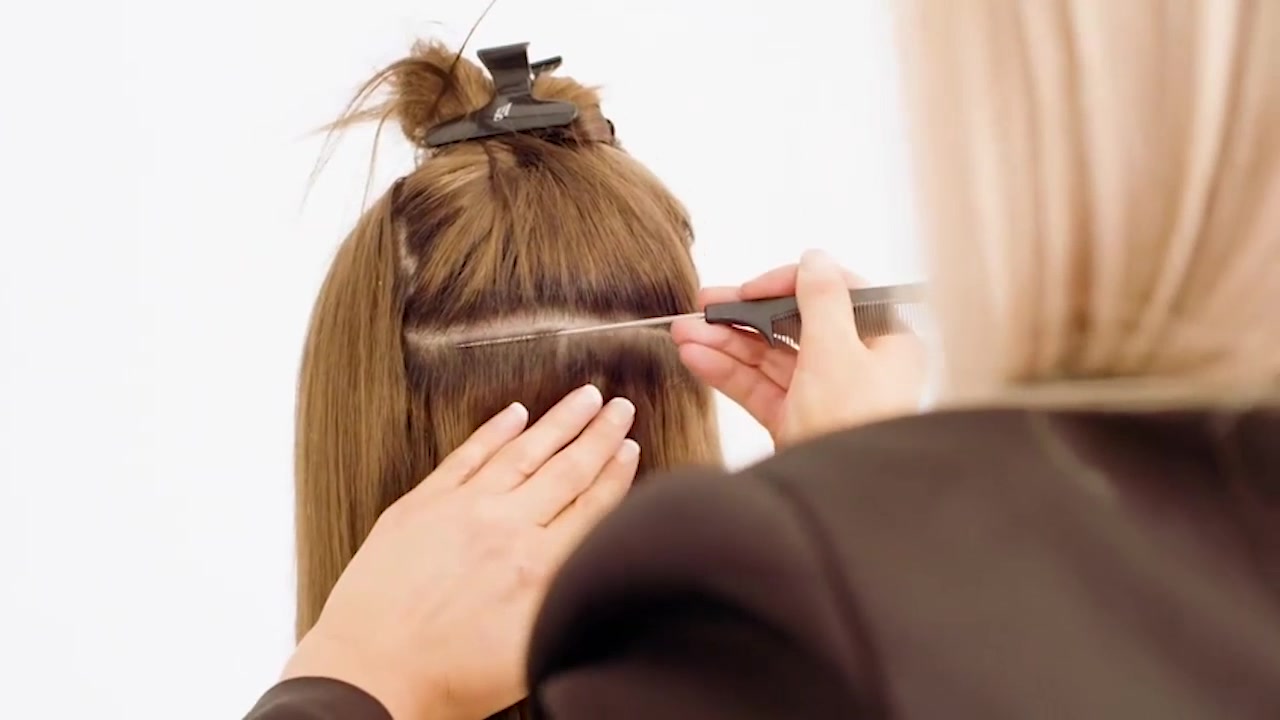
• Cut your wig

Cutting a wig can be a great way to change up your hairstyle without having to make any permanent changes to your natural hair. Here are some steps you can follow:
Gather your tools: You'll need a pair of sharp scissors, a fine-toothed comb, and a wig stand or mannequin head.
Prep the wig: Put the wig on a wig stand or mannequin head and comb out any tangles or knots in the wig hair. Make sure the wig hair is sitting comfortably on the stand and the cap is secure.
Determine your desired length and style: Decide how much you want to cut off and what style you want to achieve. If you're not sure, start by making small cuts and then adjust as needed.
Section the hair: Separate the wig into sections using clips or hair ties. This will make it easier to work on one section at a time.
Cut the hair: Using your scissors, carefully trim the hair in the section you're working on, following your desired style. Take your time and work slowly, checking your progress as you go.
Blend the layers: If you want to create layers in the wig, use your scissors to carefully blend the layers together for a more natural look.
Check your work: When you're finished cutting, take a step back and check your work in the mirror. Make any additional adjustments as needed.
• Add accessories
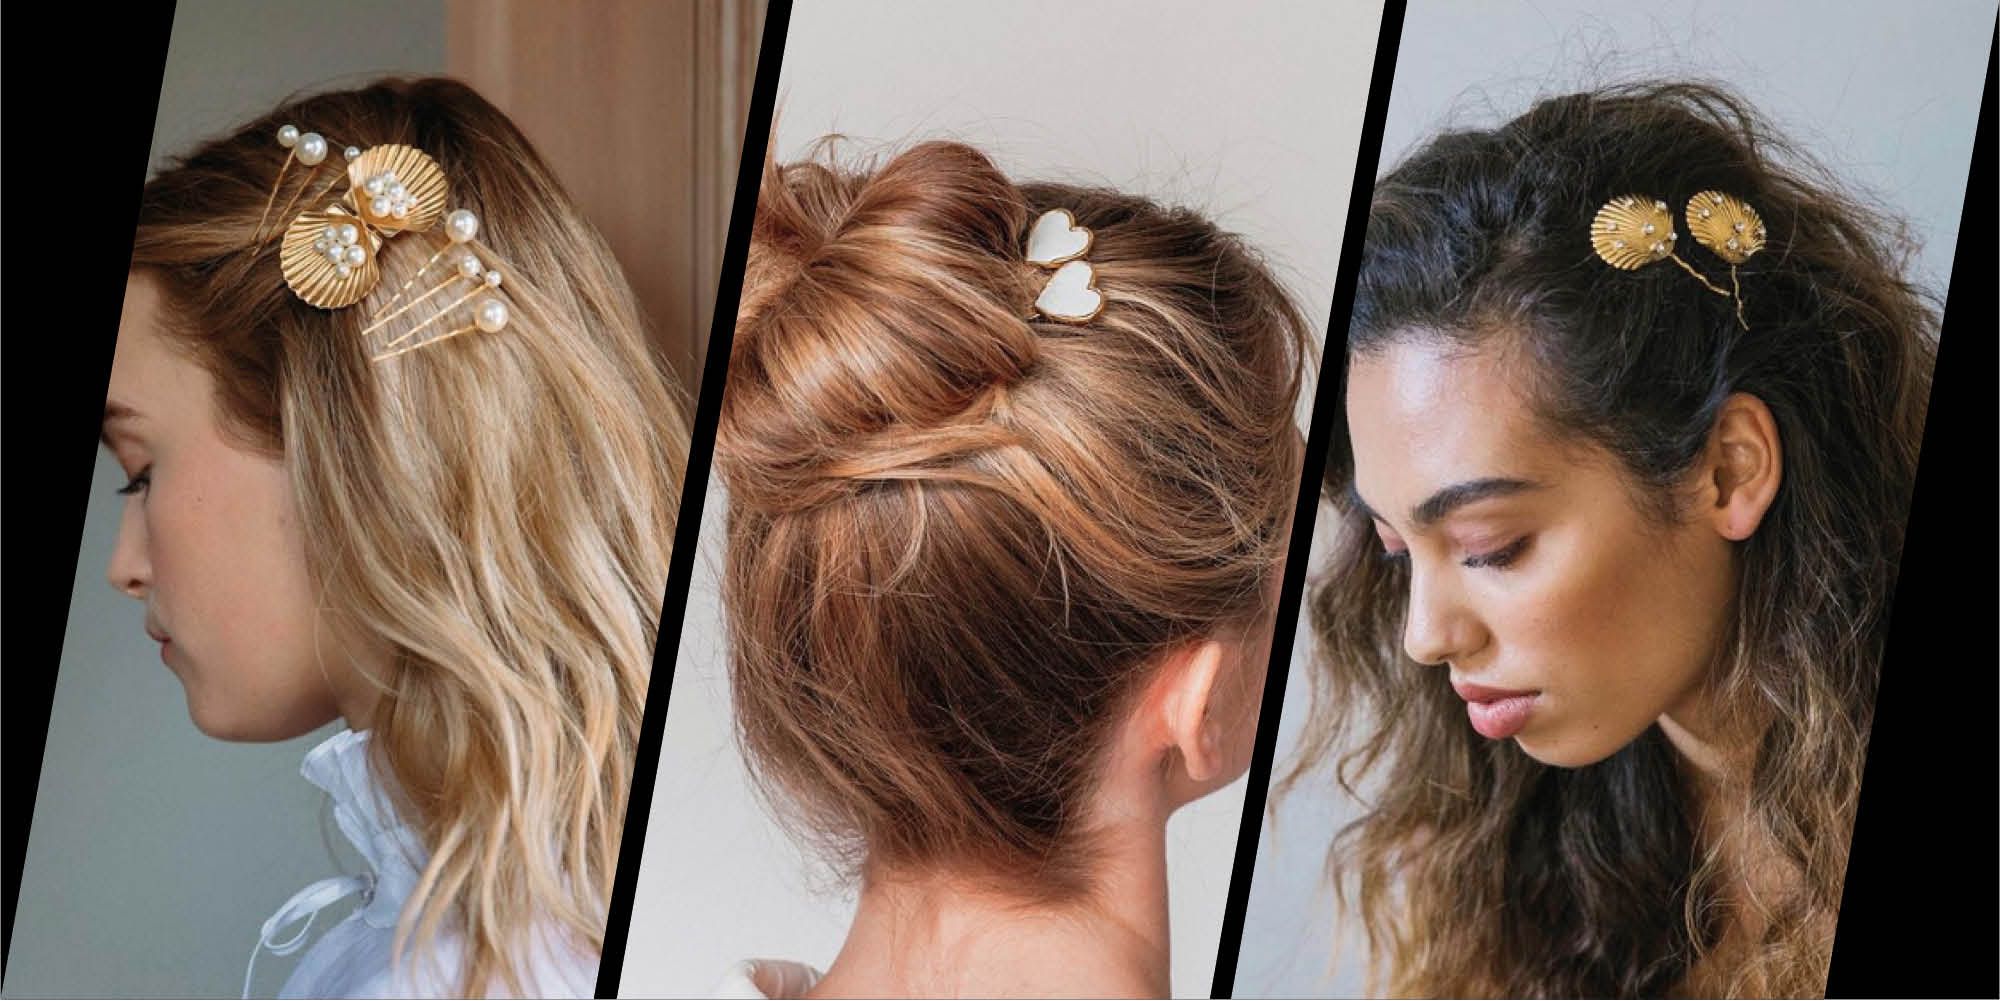
Adding accessories to your wig can be a fun way to change up your look. Here are some popular ways to add accessories to your wig:
Headbands: Headbands are a simple way to accessorize your wig. You can choose from a variety of styles to match your outfit or mood.
Hair clips and barrettes: To create a sophisticated look, you can use them to pin back the hair around your face.
Scarves and hats: Wearing a scarf or hat over your wig can add a pop of color. You can wrap it around your head like a turban.
Jewelry: To get a glamorous look, you can use earrings, necklaces, or brooches to accentuate the style of your wig.
Flowers: Adding flowers to your wig can create a romantic look. You can attach them to your wig with hairpins or glue.
How to solve common problems about wigs?
• Tangling
Detangling a wig can be done in a few simple steps:
Use a wide-toothed comb or detangling brush to gently remove any knots or tangles from the wig.
If there are any stubborn knots, use a fabric softener or wig conditioner to help loosen them.
Rinse the wig with cool water and pat it dry with a towel.
Once the wig is mostly dry, you can use a heat protectant spray and a low-temperature hair straightener to further smooth out any tangles.
• Shedding
Here are some tips to help prevent wig shedding:
Brush your wig gently before and after each use to remove loose hair.
Avoid using excessive heat on your wig.
Be gentle when washing your wig and rinse thoroughly with cool water.
Store your wig on a stand or mannequin head when not in use.
Invest in a high-quality wig made from quality fibers that are less prone to shedding.
• Frizzing
Here are some tips to treat wig frizzing:
Use a specialized wig brush or wide-toothed comb to gently detangle the hair.
Apply a small amount of wig conditioner or fabric softener to the hair to reduce frizz.
Use a heat protectant spray and low-heat hair straightener to smooth out any remaining frizz.
Store the wig properly when not in use on a wig stand or mannequin head.
Consider investing in a high-quality wig with better fibers that are less likely to frizz.
Final Thoughts
Proper wig styling is an important part of achieving an overall appearance that looks both natural looking, and flattering. By understanding the different types of wigs available, preparing your wig for wear, and following basic wig styling techniques, you can achieve a natural-looking hairstyle. For those looking to take their wig styling to the next level, advanced techniques and creative styling skills can help you achieve a more sophisticated look.
Images credit: Google, Pinterest, YouTube.